Photo Hints
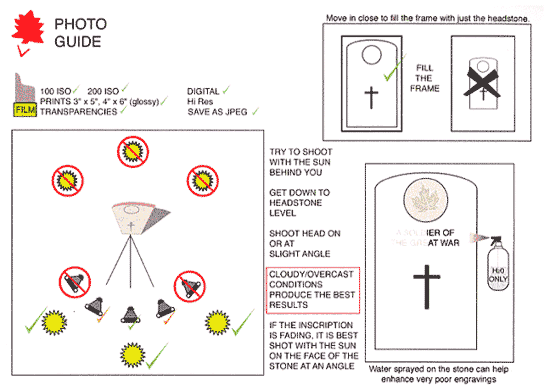
- Taking the photographs on a cloudy or overcast day is better than bright sunshine – usually.
- Spraying water – and water only – on the inscription may help to define it and make it easier to read. Do this ONLY if the inscription is very difficult to read.
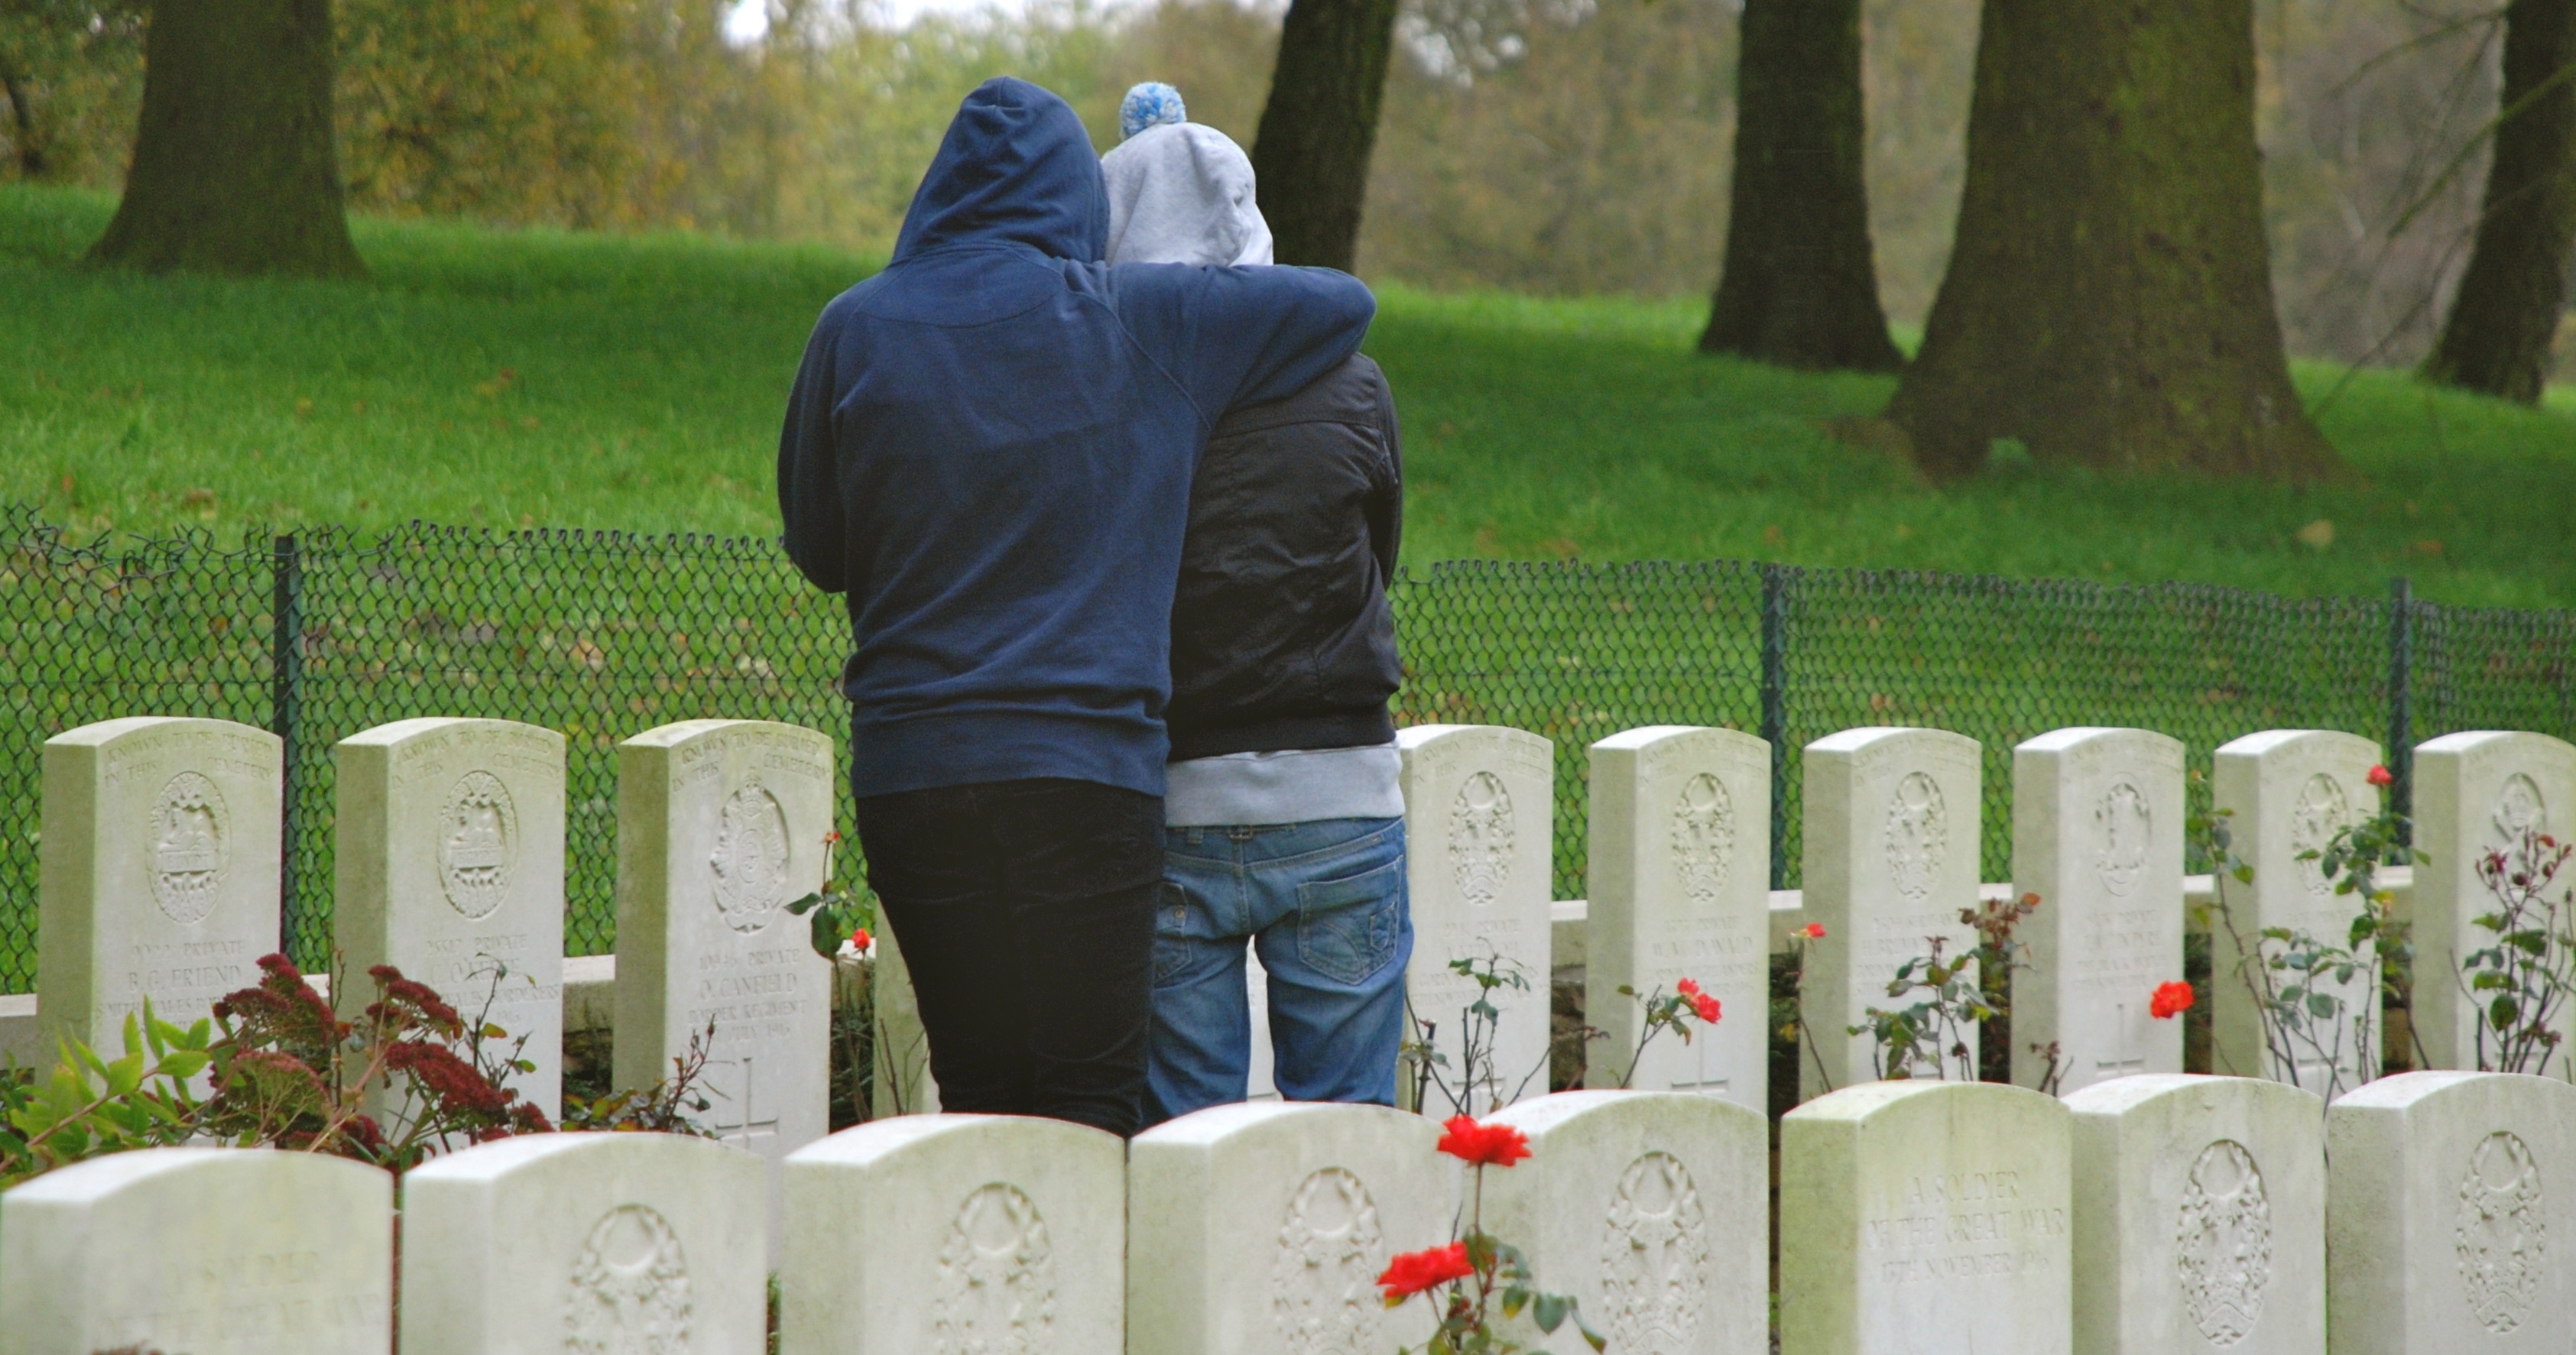
- Do not damage any flowers planted in front of the headstone epitaph. If it is possible to move flowers or foliage away from the front of the headstone without doing damage to them, then do so if needed. If the epitaph cannot be seen because of a plant that’s okay because you will be recording that inscription anyway, but if you can move the foliage out of the way that would be best.
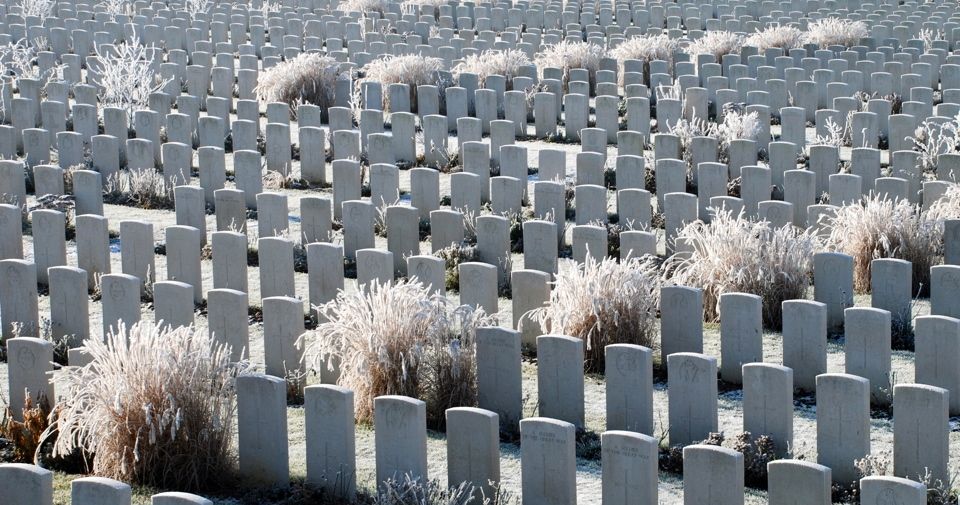
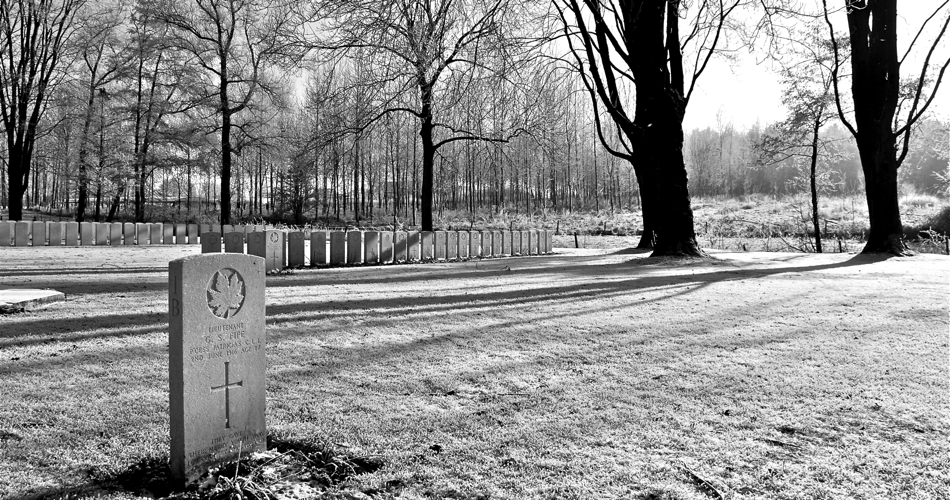
- Be sure to crouch down to the level of the headstone and move in close to fill the viewfinder frame with the image of the headstone being sure to get the whole headstone. We are not interested in anything else but the headstone.
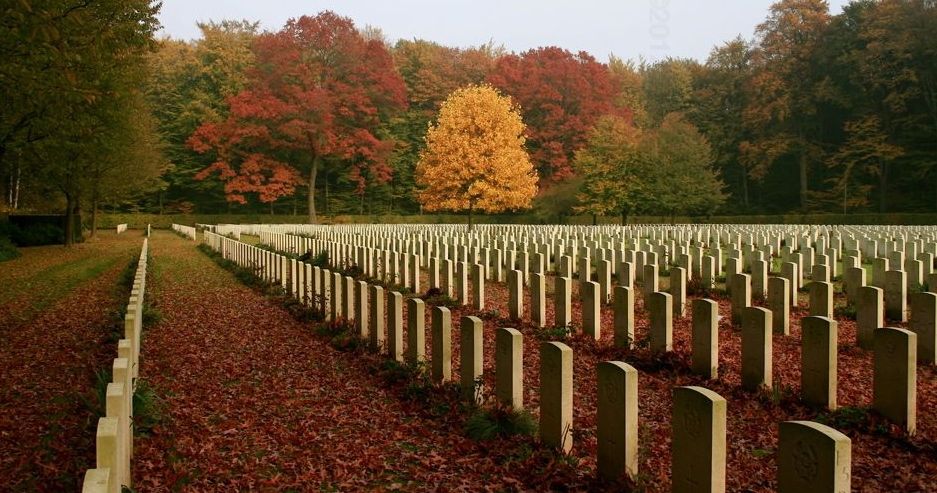
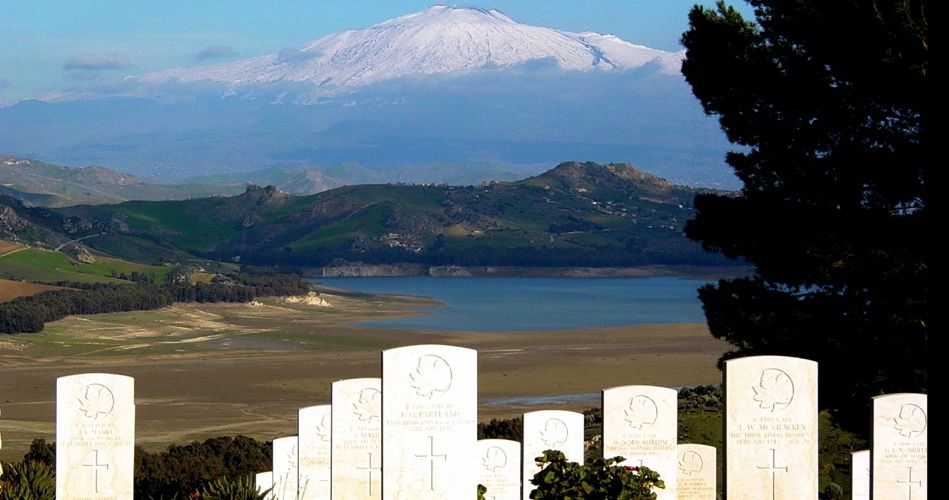
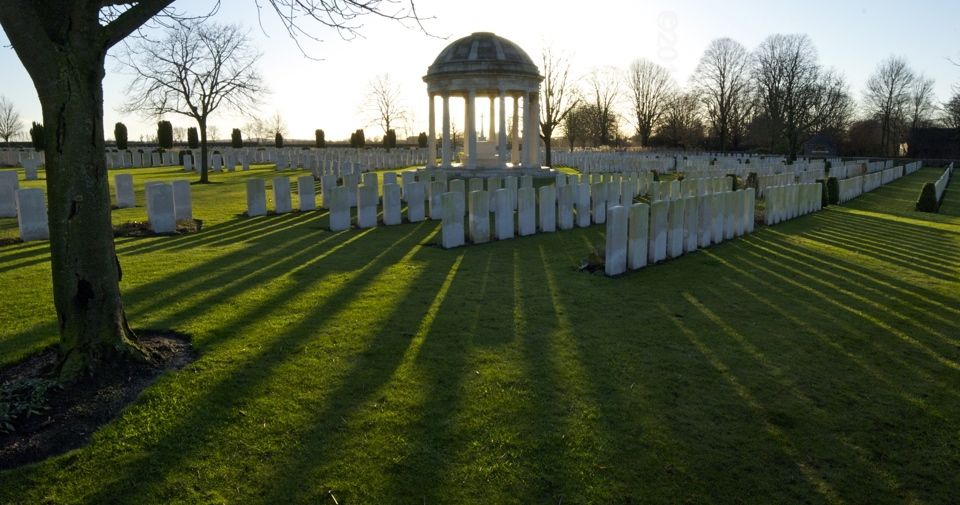
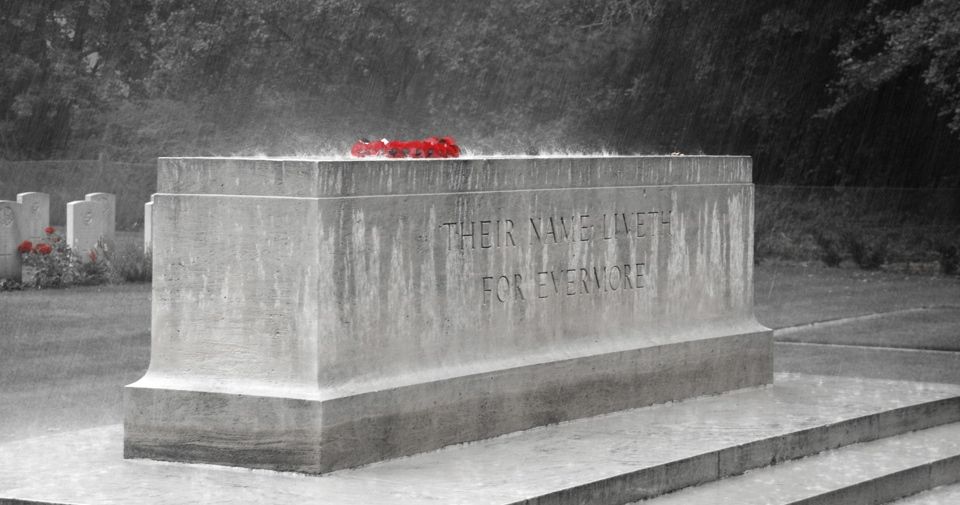
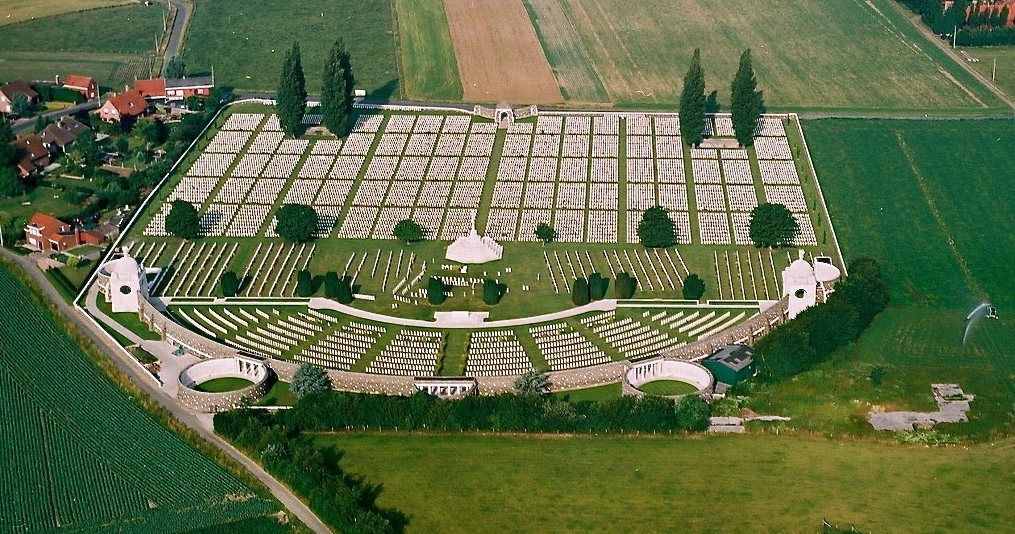
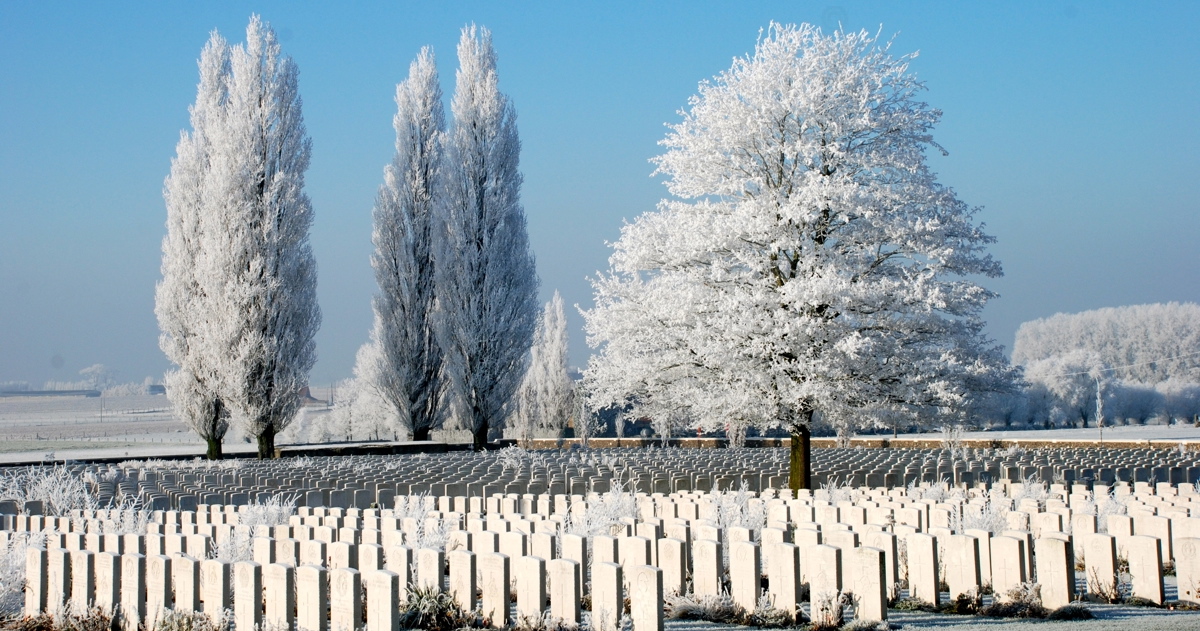
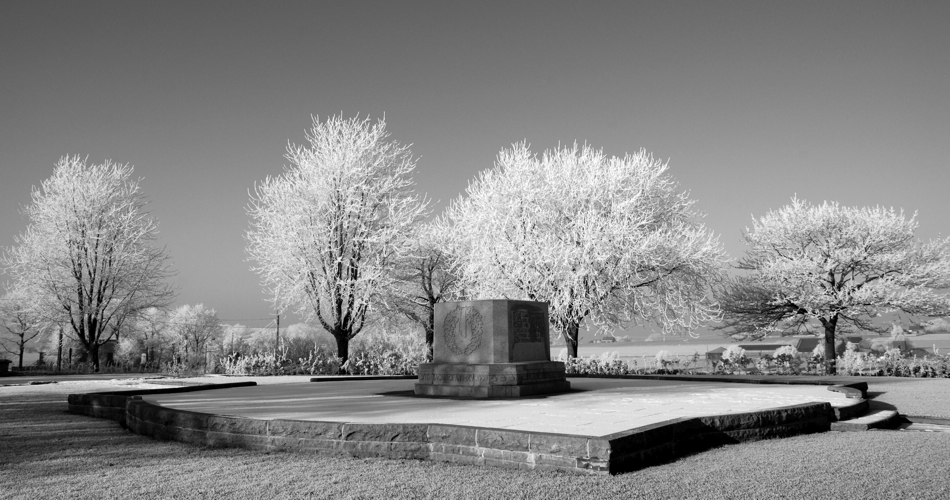
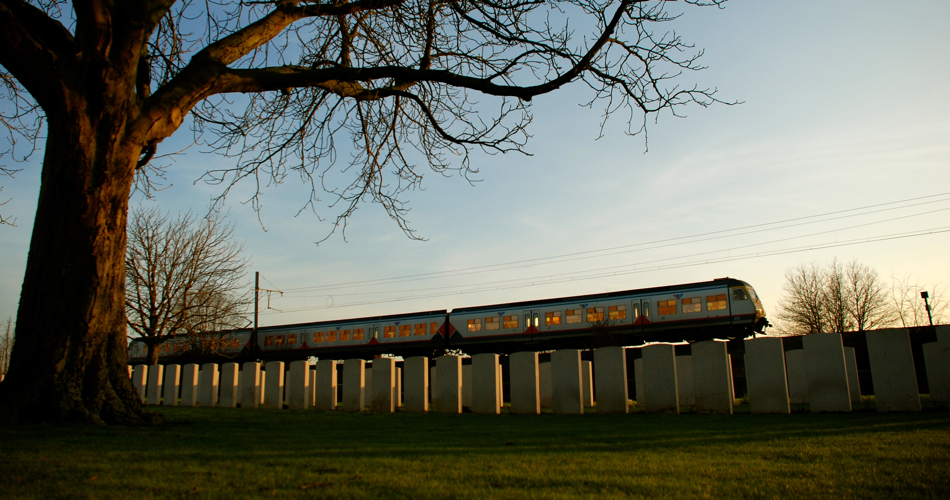
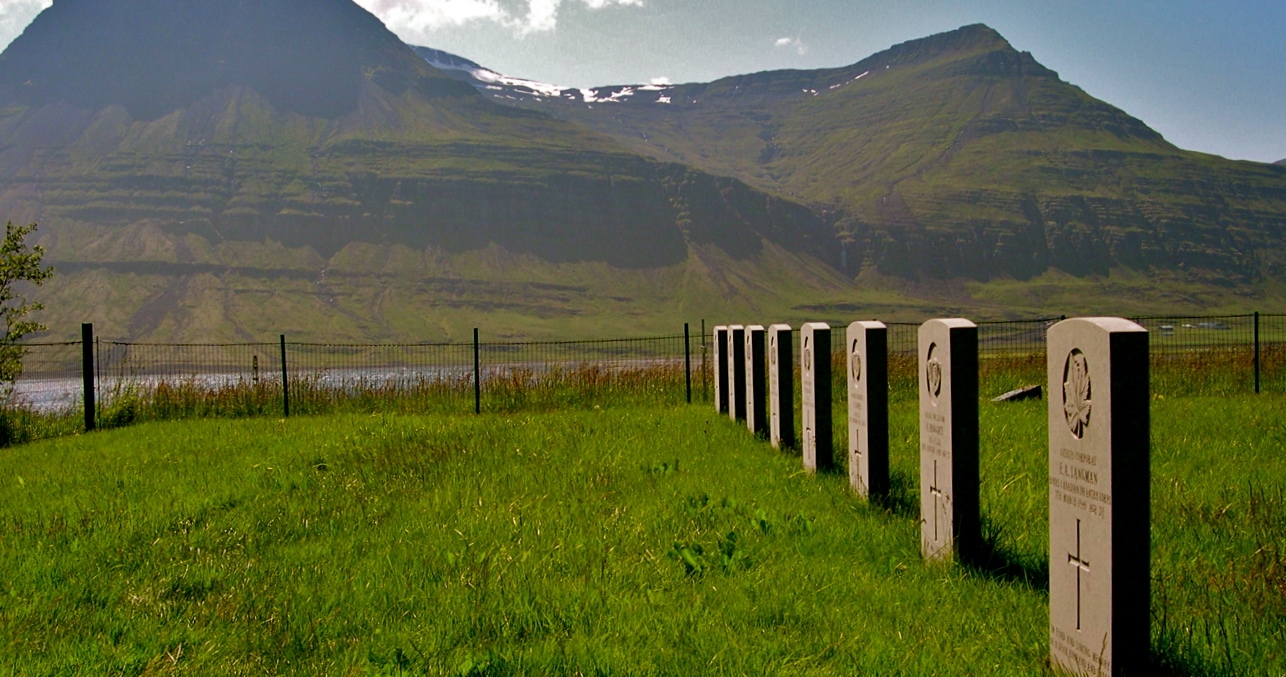
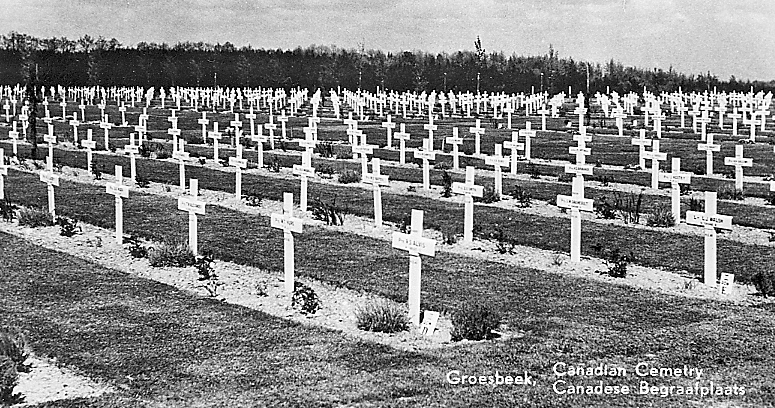
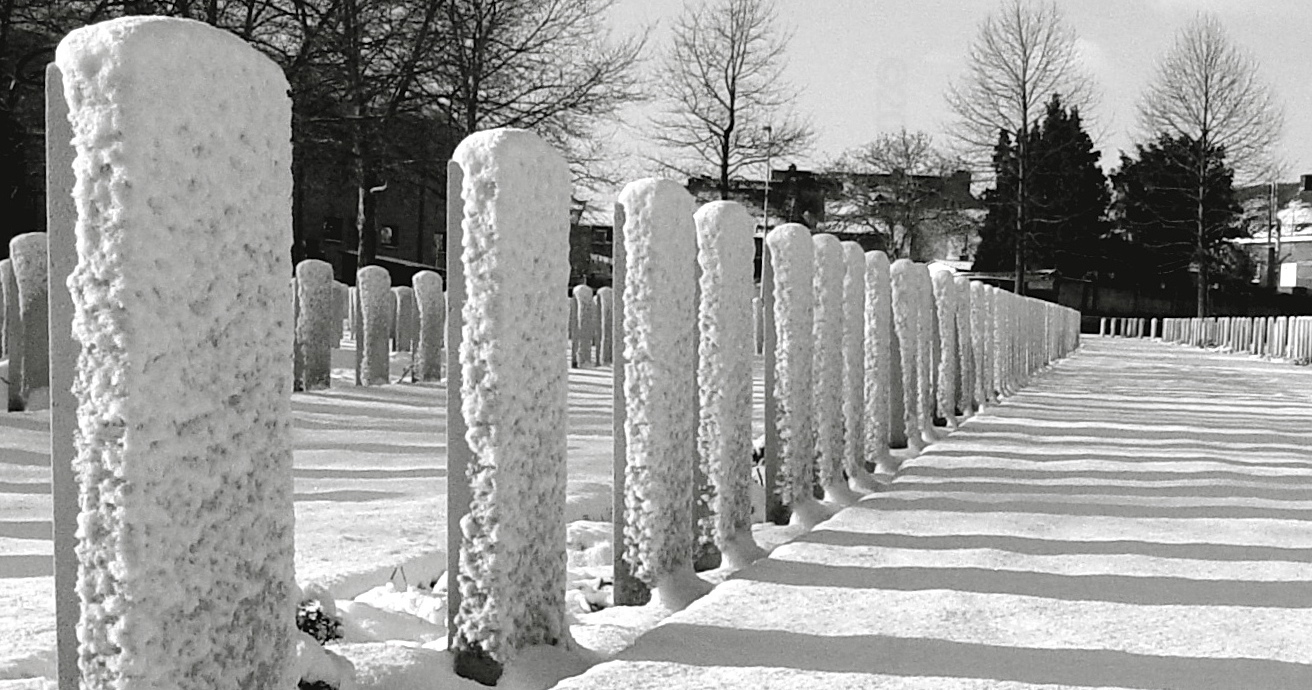
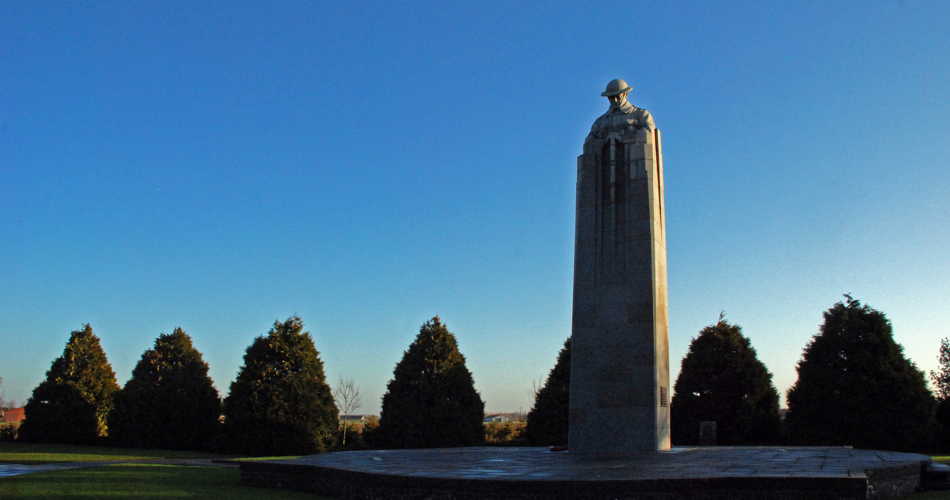
- When you have taken all the headstone shots in a particular cemetery, please also take one shot of the cemetery showing the setting of the graves. We do not need shots of the Cross of Sacrifice or Stone of Remembrance on their own (they are all the same) but they could be included in the general view if it also includes the war graves.
Digital Photo Hints
In a war cemetery or war grave plot within a larger cemetery, there may be planted greenery or flowers in front of the epitaph. It should be possible to gently move this aside while photographing the epitaph. Please photograph the epitaph separately if it cannot be seen in the photo of the whole stone. Please take care not to damage the plant. If this is not possible, then please take note of the inscription.
The order of taking photos is VERY IMPORTANT.
- First, take a photo of the cemetery in which the graves to be photographed are located. If possible, include a sign with the name of the cemetery in the first picture of those from that cemetery.
- Secondly, take the first grave photo as per the above instructions.
- Then take the epitaph at the bottom if there is one and it cannotbe seen in the main photo. That way, when we are processing the images we will know that that image of the epitaph belongs to the previous grave photo.
- Then, if any part of the inscription is faded or at all difficult to read, take an extreme close up of the suspect area. This is particularly important with the identification number at the top of the inscription. Sometimes it is difficult to distinguish between an 8 and a 3, or a 3 and a 5 or a 6 and a 0, depending on the style of the font and the extent of the deterioration of the engraving.
Now move on to the next stone and repeat the process.
Shoot at the medium resolution. (minimum 1200 x 800, preferably 1600 x 1200) We do not need high resolution (large sized) files.
Once you have finished the photography, store the photos in a JPEG format on CD or you can upload them to an online folder. Contact Steve Douglas for instructions for this.
Do not manipulate the photos in any way. We have a pre-formatted system to batch process the images to a set standard.
Please be sure to label each disc with the contents. Include the name of the cemetery, the location and your name. Please create an index of names contained on each disc.

